How to Anchor and Install Reinforced Geomat on Highway and Railway Slopes
-

- 19th novembre 2026
Installing a reinforced geomat on a transport slope is a system task, not simply a matter of unrolling a mat and adding pins. The selected product, soil surface, drainage details, crest and toe terminations, anchoring pattern, vegetation plan, and project drawings must work together. Highway and railway projects also have site-specific access, inspection, and approval requirements, so the approved construction documents and the manufacturer’s instructions should govern the work.
This guide describes a practical sequence for vegetated turf reinforcement mats (TRMs). It does not set universal anchor spacing, anchor length, trench dimensions, overlap width, slope limits, or railway acceptance criteria. Those details depend on the specified product and project design.
1. Confirm the Reinforced Geomat System and Approved Installation Details
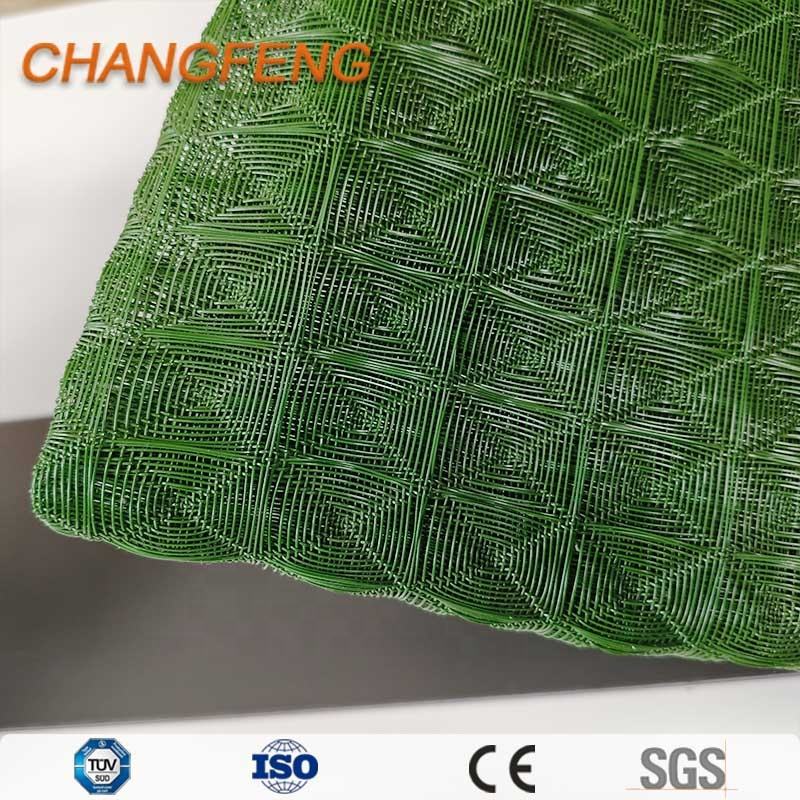
Before mobilizing, confirm the exact material named in the specification. “Reinforced geomat” can refer to different products and structures. A vegetated three-dimensional TRM is not automatically interchangeable with a channel-protection mat, a geogrid, a geocell, a drainage composite, or a different reinforced surface cover.
Check the product submittal against the approved drawings and specification. Confirm the roll dimensions, reinforcement structure, intended application, vegetation or infill requirements, compatible anchoring devices, and required test documentation. Changfeng describes its Géomat de renforcement de gazon 3D haute résistance for road projects and slope stabilization, while its separate Reinforced Geomat source describes channel and riverbank protection. Treat those as distinct product descriptions unless the project submittal confirms the exact product identity.
On highway and railway slopes, a properly anchored 3D turf reinforcement geomat helps keep surface soil and seed in place during rainfall while grass is taking root. As the grass establishes, its roots grow through the open mat structure and bind with the soil, reinforcing the vegetated surface for longer-term erosion control. The mat is supplied in rolls that crews can lay out and secure using the approved anchoring pattern.
Collect the current slope cross-sections, crest and toe details, drainage transitions, panel layout, approved fixing schedule, vegetation plan, and manufacturer’s installation instructions. On a railway site, confirm work limits, access arrangements, permits, track protection requirements, and inspection hold points with the responsible project team. These are project coordination checks, not a substitute for railway-specific standards.
2. Prepare the Slope and Drainage Before Laying the Mat
Complete grading and drainage work before covering the slope. Divert or control runoff as required by the temporary works plan. Check that outlets, culverts, crest drains, benches, and toe drainage will not discharge in a way that concentrates flow beneath or across an unsecured mat.
Prepare a smooth receiving surface that allows the geomat to contact the soil. Remove large rocks, clods, roots, vegetation, and sharp objects that could hold the mat away from the subgrade. This surface-preparation step is included in the Kentucky Highway Knowledge Portal’s TRM slope guidance.
Walk the finished grade and identify soft spots, rills, local depressions, exposed utilities, or abrupt transitions. Correct defects that could create voids or channels under the mat. Avoid disturbing the prepared surface after acceptance. If the soil or slope condition differs from the approved design, resolve it with the designer before installation.
3. Set Out Crest Anchorage and Roll Placement
Mark the crest, toe, side boundaries, drainage interfaces, and panel joints from the approved layout. Confirm the crest termination detail before starting: some slope TRM details use a crest anchor trench, but trench location and geometry must come from the project drawings and product instructions. The Kentucky guide shows a top-of-slope anchor trench as part of its example; it does not establish a universal trench detail for every product or project.
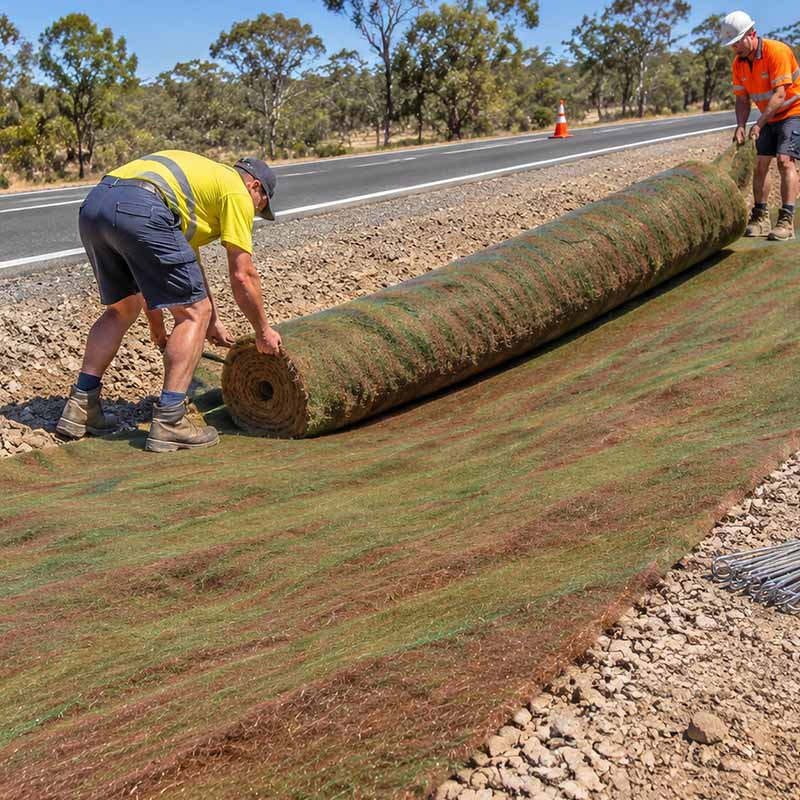
Plan roll handling so panels can be placed without dragging them over sharp material or stretching them taut. A Kentucky slope example unrolls the lining downhill. Use the specified direction for the selected system and site layout, and keep the mat in continuous contact with the prepared surface. Minnesota’s stormwater guidance cautions against pulling a TRM tight enough to lose soil contact.
Before unrolling multiple rolls, check the panel sequence and orientation. Keep rolls protected from damage and contamination, and pause if wind, rain, or runoff makes controlled placement impractical.
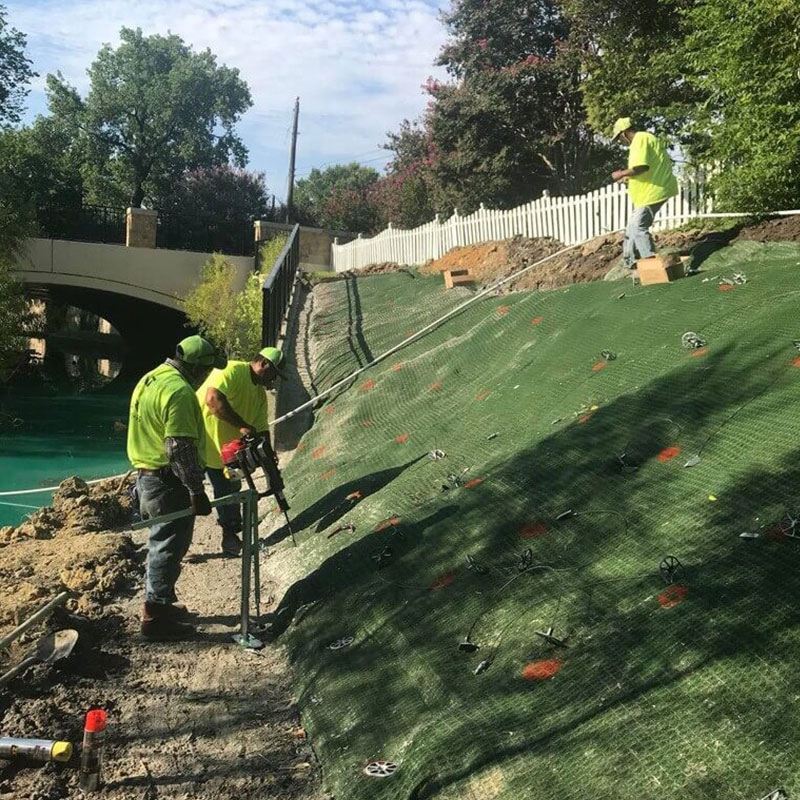
4. Anchor the Reinforced Geomat and Connect Adjacent Panels
Use only the fixing type, pattern, and embedment approved for the specified product and site. Confirm that the crew has the correct anchors and installation drawings at the work face. The Minnesota guidance states that manufacturers specify anchoring patterns for slopes and channels and that the correct type and amount of staples should be checked.
Install the crest, side, toe, and intermediate fixings in the approved sequence. Seat each anchor so the mat remains in contact with the soil without tearing, folding, bridging, or excessive tension. Do not substitute a convenient fixing or alter the pattern in the field without approval.
Join adjacent panels using the specified side-lap and end-lap details. For many flow-exposed applications, shingle-style orientation helps avoid water entering beneath an upper edge; the Minnesota manual recommends placing the upgrade edge over the lower edge while following the manufacturer’s overlap dimensions. The Kentucky slope example likewise places higher sections over lower sections. These examples describe orientation, not a universal overlap width.
Before covering the mat, inspect the full visible area. Check for open seams, lifted edges, wrinkles, unsupported voids, missed anchors, damaged material, and areas where the mat is pulled away from the grade. Correct and record defects while they remain accessible.
5. Place Infill, Establish Vegetation, and Complete Terminations
Follow the specified sequence for seeding, infill, and any temporary erosion cover. The sequence can vary by product: Minnesota’s guidance notes that some thinner TRMs are placed over seeded soil, while some thicker open structures may be anchored first, then seeded and covered. It directs users to follow the specific manufacturer’s requirements.
The Kentucky example places seed on top of the mat after installation. Minnesota’s guidance generally describes installation after seeding unless the manufacturer specifies otherwise. These are system-specific examples, so use the approved planting plan and product instructions instead of assuming one sequence applies to every reinforced geomat.
Complete toe, edge, and drainage transitions to the approved details. Make sure discharge points do not leave exposed soil or an unprotected gap beneath the mat. If the design calls for soil filling, place it as specified without displacing the mat or blocking drainage. Protect newly installed work from construction traffic and uncontrolled runoff.
6. Inspect Highway and Railway Slope Installations
Use a documented inspection before covering and again at handover. A practical checklist includes:
Product and roll identification match the approved submittal.
The receiving surface is stable, smooth, and free of objects that prevent contact.
Crest, side, toe, and drainage terminations match the approved details.
Fixing type and placement match the project schedule.
The mat has continuous contact with the soil and has no open joints or lifted edges.
Seeding, infill, and temporary cover follow the specified sequence.
Damage, runoff paths, and corrective actions are recorded with location and photographs.
Minnesota’s guidance identifies rill or gully erosion, loss of direct soil contact, and improper anchoring as inspection items. It also recommends periodic and post-rain inspections while vegetation is establishing. Set the actual inspection frequency and reporting route in the project quality plan, especially where railway access controls apply.
Repair erosion or movement using the approved method. Do not conceal a loose edge, void, or damaged section under infill. Record the repair and arrange follow-up checks after relevant rainfall or site events, as required by the project.
7. FAQs About Reinforced Geomat Installation
How are fixing spacing and anchor length selected?
Use the approved fixing schedule and the instructions for the exact product. The required layout depends on the mat system, slope and soil conditions, drainage exposure, and project design. Do not apply a generic spacing or length from another project.
What joint detail should be used between panels?
Follow the manufacturer’s and project’s side-lap and end-lap details. Where the system is exposed to runoff, confirm the intended shingle direction so water is not directed beneath an exposed edge. The overlap dimension itself must come from the approved detail.
What should be checked before infill or seeding?
Verify the mat is undamaged, in contact with the soil, correctly anchored, and joined without open seams. Confirm that crest, toe, edge, and drainage interfaces are complete. Then follow the specified vegetation and infill sequence.
When should a slope installation be inspected again?
Follow the project inspection plan. For vegetated TRM systems, periodic checks during establishment and checks after significant rain or runoff events can reveal erosion, loss of contact, or anchor movement while repairs are still accessible. The project team should define the frequency and railway access arrangements.
Conclusion
A reliable reinforced geomat installation starts with the right specified system and a prepared slope, then follows approved termination, anchoring, joint, and vegetation details. Keep the mat in contact with the grade, inspect the work before covering, and document corrections. On highway and railway projects alike, product instructions and approved project documents determine the installation dimensions and acceptance requirements.

Améliorer les performances de l'énergie solaire.
Derniers projets, solutions et approvisionnements énergétiques
Synthetic Erosion Control Mat
Spiral Rigid Permeable Pipe
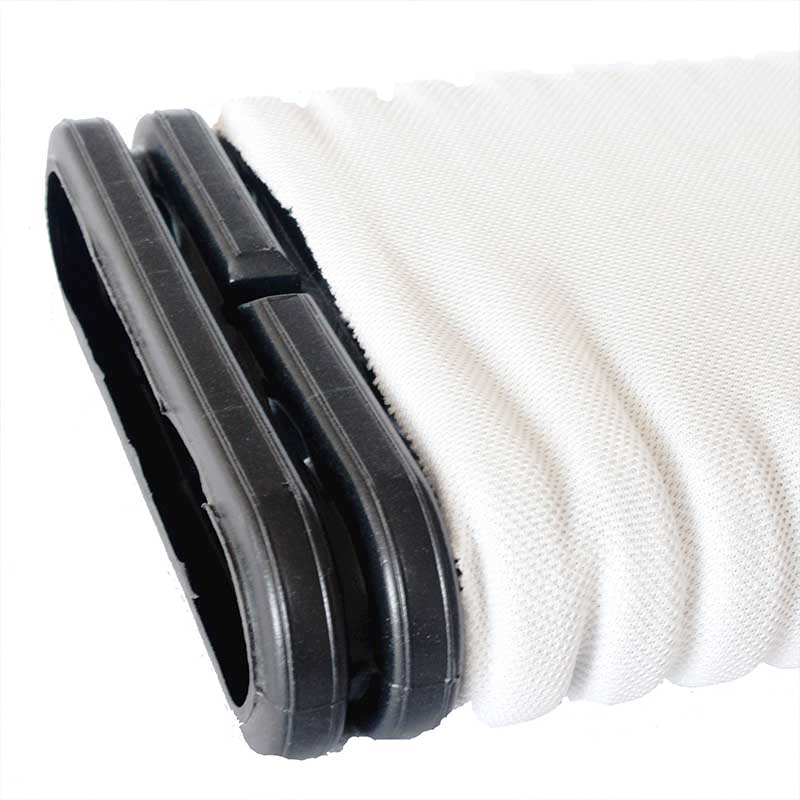
HDPE Corrugated Drainage Pipe
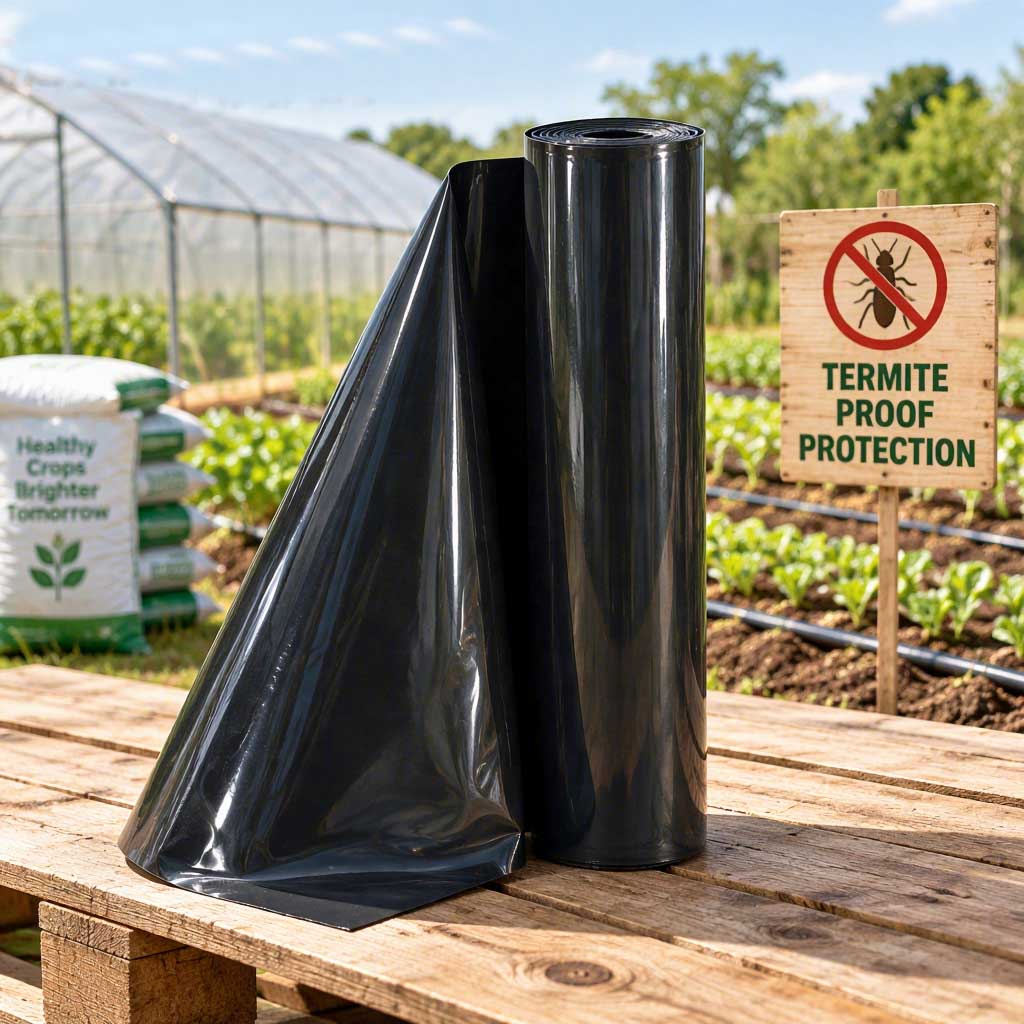
Anti Termite Barrier Membrane
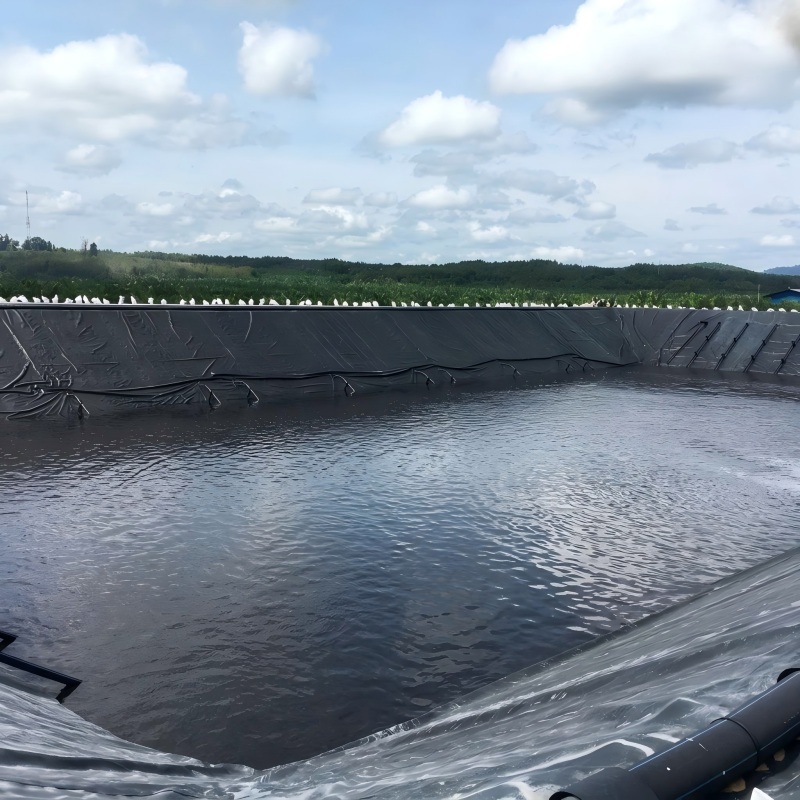
Géomembrane texturée en PEHD
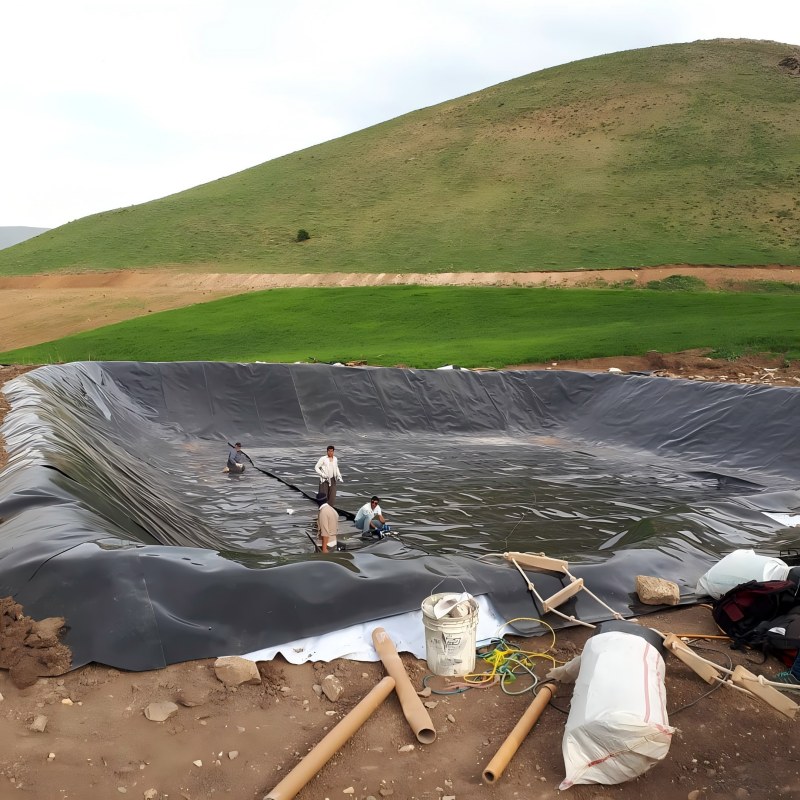
Géomembrane lisse en PEHD

Plus qu'un fabricant
Votre partenaire de solutions
Nous assurons la transition entre l'efficacité de la production directe et l'expertise en ingénierie. Que vous soyez confronté à des réglementations strictes ou à des conditions de chantier complexes, notre équipe vous apporte la force invisible dont votre projet a besoin grâce à une collaboration technique approfondie.

Collaboration d'experts

Autorité de l'usine

Solutions innovantes
Obtenez un devis